Paper Squishy
A paper squishy is a homemade, squeezable toy made primarily from paper and soft materials. Join us and create a unique paper squishy toy using simple materials like paper, fiber filling, and markers. Our teaching artists will guide you through designing, decorating, and assembling your squishes. Which shape will you create?


Materials:
- Colored Paper (two sheets)
- Sharpie Markers
- White Paper
- Poly-fil
- Clear Packing Tape
- Glue Stick
- Scissors
Instructions:
Step 1: Draw or trace a design on colored paper. The design could be an animal, character, flower, et cetera.
Step 2: Use colored Sharpie markers or colored pens to add color to the front of your design. If you would like the back of the squishy to have color, trace the same shape of your design on another piece of colored paper.
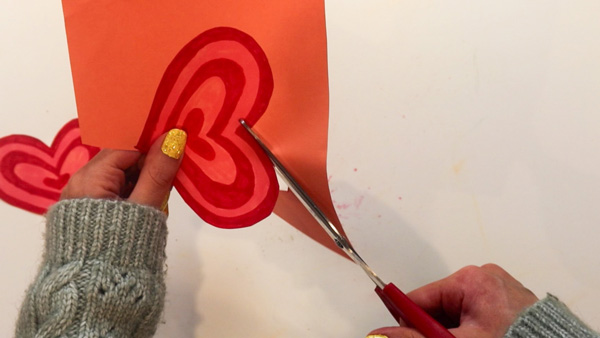
Step 3: When your design is complete, cut out the full design from both sheets of paper.
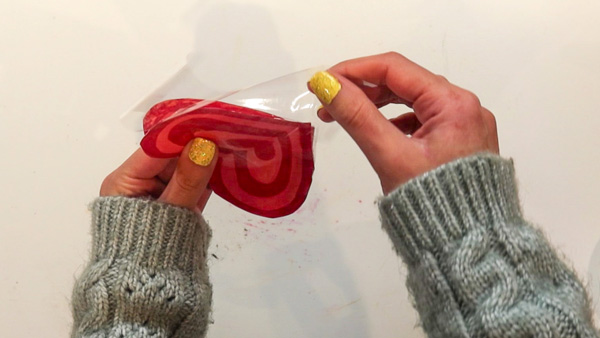
Step 4: Using transparent tape, cover the entire front of the design with tape. Be sure to keep the tape taught as you apply the strips to the paper. This will reduce the chances of wrinkles. Tuck the end of the tape around the back of the squishy. This will cause the two sheets of paper to be taped together. It is important to remember to leave one side of the squishy untaped and open. This will allow you to add the poly-fil.
Step 5: Next, cover the back of the paper with tape.
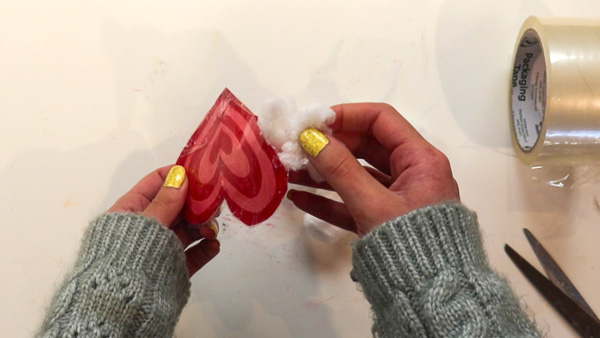
Step 6: When both the front and back are covered in clear tape, open the untaped side of the squishy and insert the poly-fil. Be sure to not overfill the squishy.
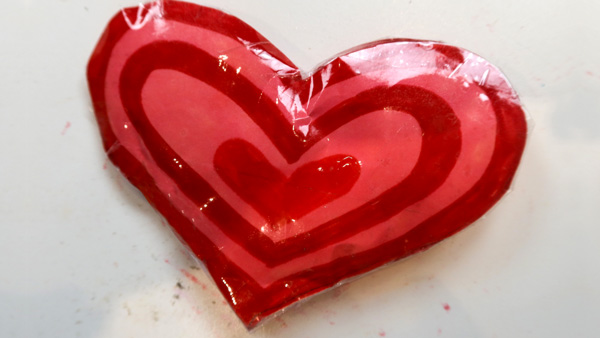
Step 7: Apply tape to the open end to seal in the poly-fil.
Ways to take your paper squishy to the next level:
- Introduce other art techniques, like watercolor or acrylic paint, to decorate the paper before cutting it into shapes. This could add unique textures and a mixed-media feel to the squishies.
- Consider using thematic design challenges, like creating squishies inspired by favorite books, movies, or nature.
This adds a storytelling element and encourages
creative thinking. - Craft accessories! Create squishies that function as keychains or zipper pulls. You could also add small accessories (e.g., eyes or stickers) to give the squishies a more interactive feel.
Further Learning and Discussion Questions:
Discussion questions for reflection:
– What inspired the design of your paper squishy? How did you choose the shape, colors, and details?
– How do the materials we used, like paper and poly-fil, affect the texture and feel of the squishy? What other materials could we try to create different effects?
– What challenges did you face during the project, and how did you solve them? Did your design change as you worked, and if so, why?
Further Learning:
– Research other types of 3D paper crafts, like origami or paper mache, to learn more about creating three-dimensional art from paper. You could even try creating a 3D paper sculpture using recycled materials.
– Explore how different fabrics and materials are used to make soft toys and plushies. Try sewing your own fabric squishy as an extension of this project, learning basic sewing techniques along the way.
– Research the science behind sensory toys and explore the calming effects they can have. Experiment with creating different sensory experiences by using fabric and alternative fillings in your squishy, like rice, sand, or beads, and see how they change the texture and feel.

