Cardboard Sculptures
Follow along for a fun and creative family art activity where we’ll explore different techniques to build amazing cardboard sculptures! You will learn how to transform simple cardboard into incredible works of art using cutting, bending, layering, and assembling techniques. This activity is perfect for all ages. Let your imagination run wild as you experiment with shapes, textures, and designs to create unique sculptures that showcase your creativity!
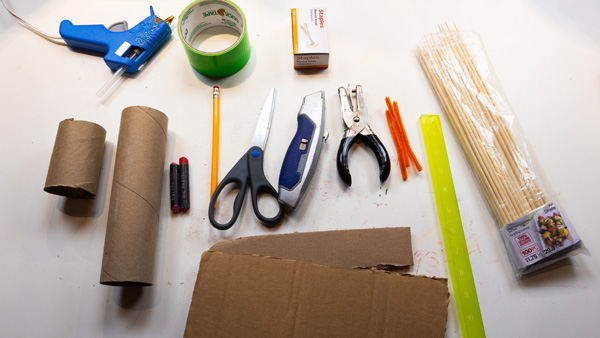
Materials
- Cardboard
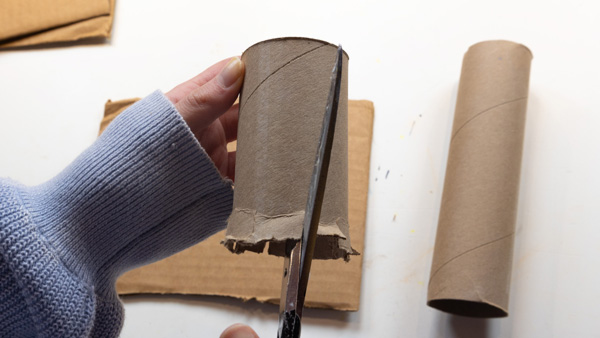
- Paper Towel Rolls
- Toilet Tissue Rolls
- Hot Glue
- Duct Tape
- Scissors
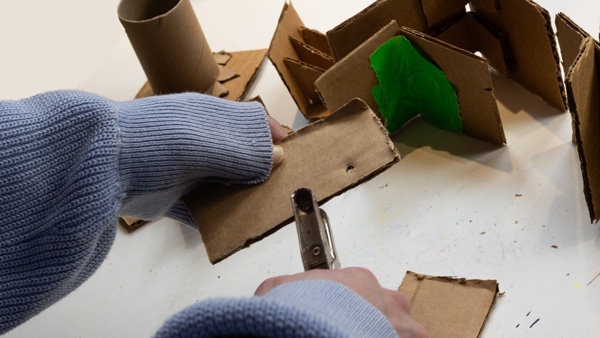
- Utility Knife (Use with supervision)
- Hole Punch
- Pipe Cleaners
- Skewers
- Brass Fastener
- Oil Pastels
- Pencil
- Ruler
Attachment techniques you can use to build your cardboard sculpture.
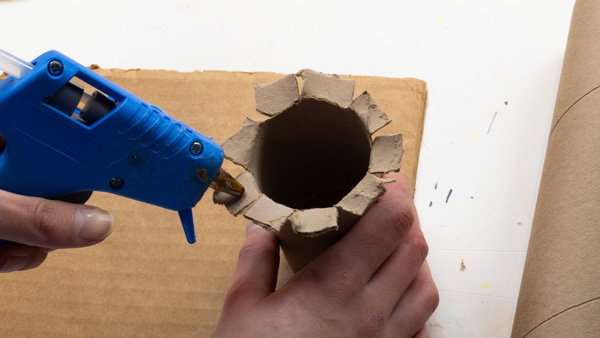
Flange
Make small cuts at the bottom of a cardboard roll, fan out the tabs, and glue them to a flat piece of cardboard.
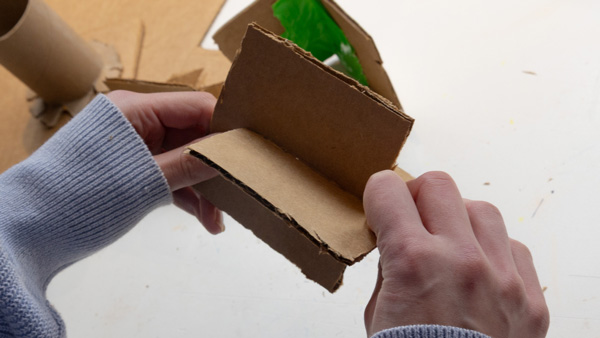
Gusset
Carefully score a piece of cardboard and fold in half. Cut small right triangles and glue them in the center so that they support and hold up a side of the scored cardboard.

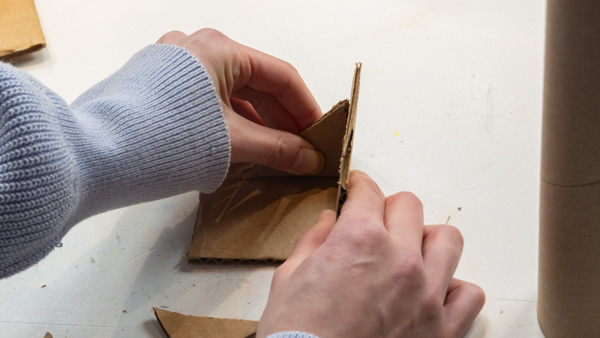
L-Brace (Option A)
Step 1: Cut two pieces of cardboard and place one piece flat on your work surface. Hold the other piece on its edge against a side of the flat piece to create a corner.
Step 2: Use half of a piece of duck tape on the inside of one piece of cardboard and half on the other. Press the tape down where the two pieces meet to tape them together at a right angle.
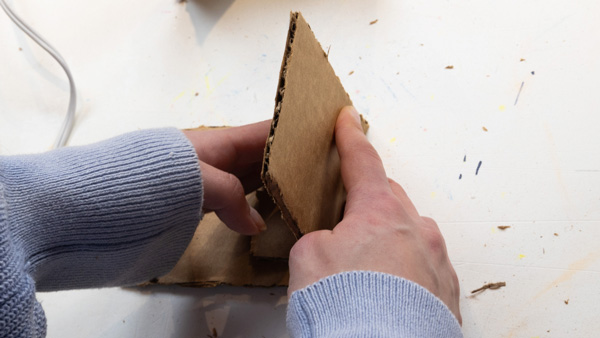
L-Brace (Option B)
Step 1: Cut two pieces of cardboard and place one piece flat on your work surface. Hold the other piece on its edge against a side of the flat piece to create a corner.
Step 2: Instead of using tape, cut small rectangular pieces of cardboard and carefully score them in the center.
Step 3: Glue one half of the small rectangle piece to one piece of cardboard and the other half to the second piece of cardboard. Fold at the center to create the right angle.
Slot
Make a long, thin cut onto two pieces of cardboard. Slot the two pieces together using the cuts to create an “X” shape.
Tabs
Make small cuts across a piece of cardboard. Fold the tabs in alternating directions.
Tab & Slot
Take the piece that you want to insert and trace the length of it onto another piece of cardboard. Cut along the line that you just traced to make a slot for the piece to be inserted into.
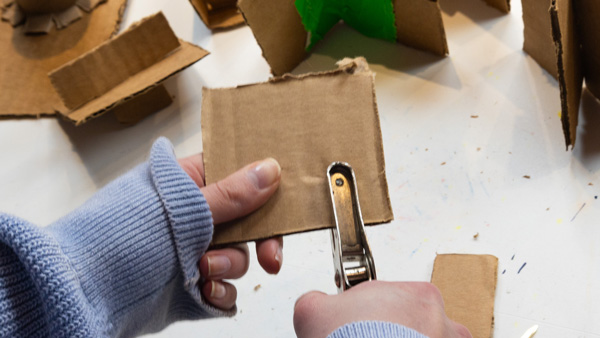
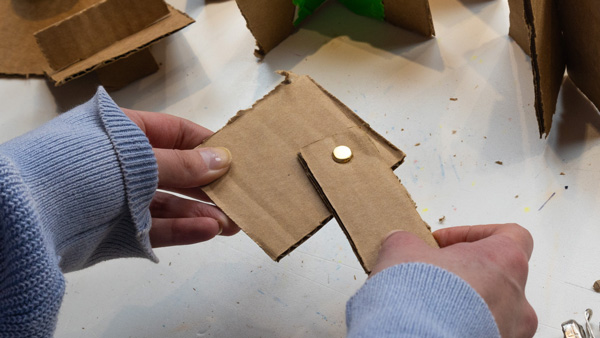
Brass Fastener
Punch a hole in two separate pieces of cardboard with a hole puncher. Place a brass fastener into one hole and then into the second. Secure the brass fastener to connect the pieces.
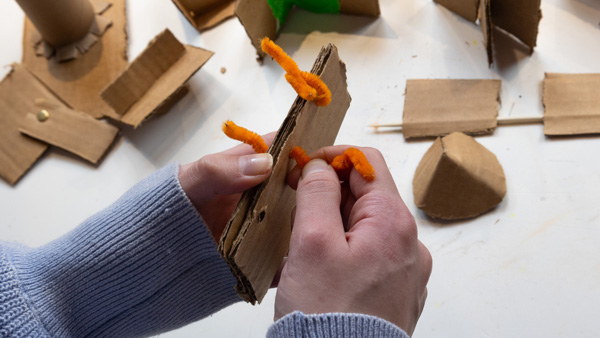
Hinged with Pipe Cleaners
Step 1: Take two pieces of cardboard and punch holes into them, making sure that the holes line up on each piece.
Step 2: Take a pipe cleaner and insert it through the holes to connect the two pieces. Twist the ends together to secure the pipe cleaners.
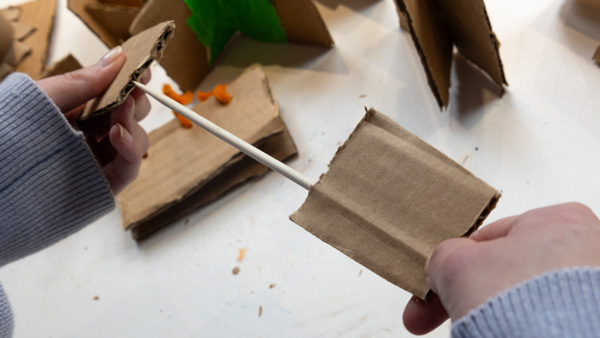
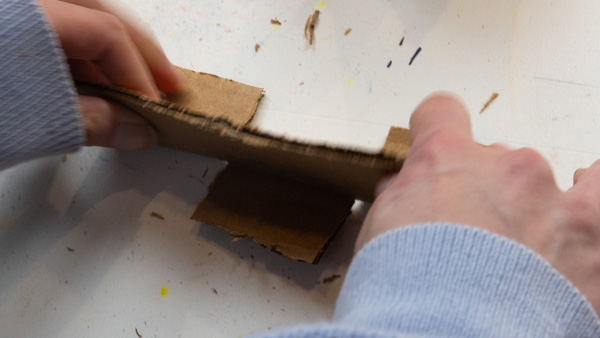
Skewer
Cut the cardboard so that the middle air pockets are visible along the edge. Insert a skewer through one of the pockets.
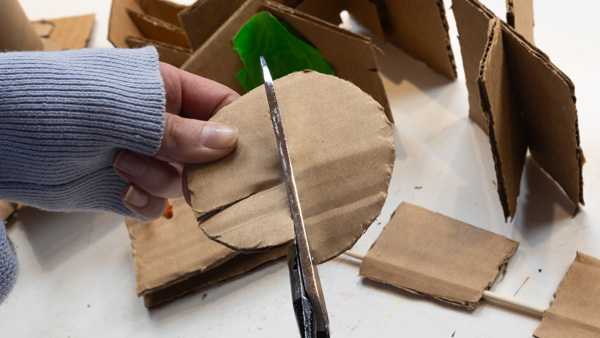
Cone
Step 1: Cut a piece of cardboard into a circle. Cut a large triangle out of the circle and fold the cardboard so that the new sides meet.
Step 2: Secure with glue and mold the cardboard into a cone shape with your hands.
Time to design and assemble your own sculpture!
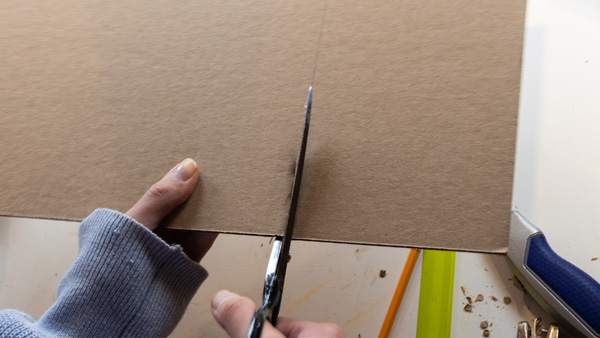
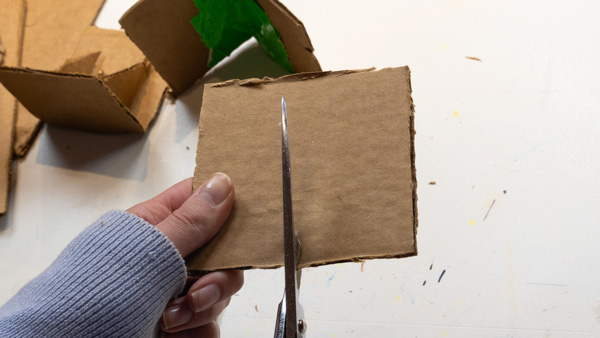
You can begin by drawing out your design first or by just cutting out shapes. Consider adding color with oil pastels before, after, or throughout your construction process.
Once you have a handful of shapes cut out, assemble your piece together or you can build as you go, responding to the shape as it forms. You could also create other pieces to go along with your sculpture such as animals, trees, or people.
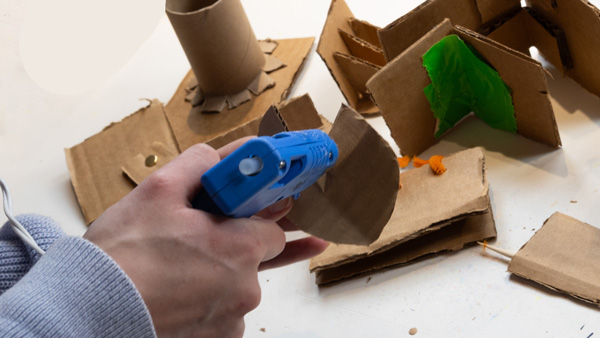
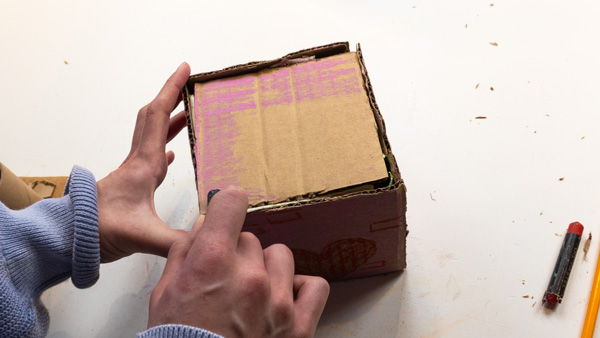
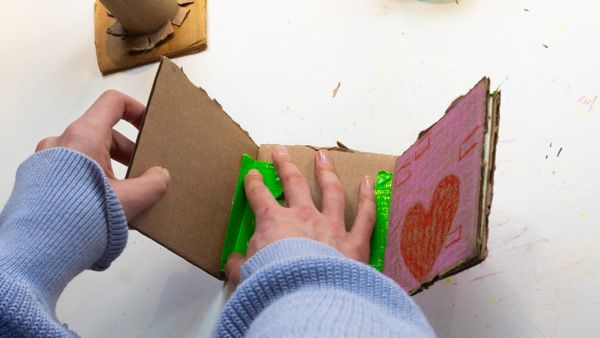
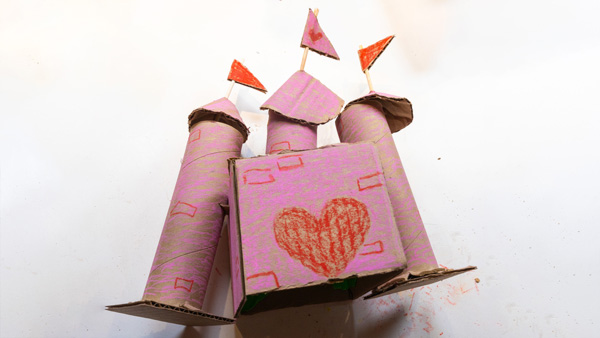
We built a Valentine’s themed castle using L-Brace, Flange, Slot, Tabs, Cone, and Skewer.
Keep creating until you are happy with your final design!
Ways to take your cardboard sculpture to the next level:
- Add texture and dimension through:
- Layering: Use multiple layers of cardboard to create depth and intricate designs.
- Carving: Experiment with cutting or scoring the surface to create patterns or reliefs.
- Enhance your sculpture by experimenting with assorted surface finishes:
- Paint and Colors: Use acrylic or spray paint for bold designs, gradients, or metallic finishes.
- Markers and Pens: Add detailed patterns or designs using paint pens or permanent markers.
- Decoupage: Adhere decorative papers, photographs, or prints for a collage-like effect.
Further Learning and Discussion Questions:
- Discussion questions for reflection:
- What inspired your design choices for your sculpture? How did you decide on the shapes, textures, and overall form?
- What challenges did you encounter during the construction process, and how did you overcome them? Were there any surprising solutions that worked better than expected?
- How did working with cardboard influence your creative process? Did the material’s properties (e.g., flexibility, texture, durability) spark any new ideas or approaches?
- Which construction or attachment technique did you find most effective or interesting? How might you use this technique in future projects?
- Further Learning
Many contemporary artists incorporate cardboard into their artwork, creating innovative and thought-provoking pieces. Here are a few notable artists and links to their work:
- Monami Ohno: A Japanese artist renowned for crafting intricate sculptures from discarded Amazon boxes, depicting subjects ranging from iconic movie characters to functional shoes. https://www.designboom.com/art/monami-ohno-cardboards-astonishing-intricate-sculptures-10-19-2021/
- Chris Gilmour: A British sculptor celebrated for his life-sized, hyper-realistic sculptures of everyday objects, all meticulously constructed from recycled cardboard. http://www.chrisgilmour.com/
- Ana Serrano: An American artist who creates vibrant, small and large-scale architectural models using cardboard, reflecting urban and rural landscapes influenced by her Mexican-American heritage. https://www.anaserrano.com